
Document Photo Requirements: How to Take a Proper ID Photo
Frederik Bak
Immigration Consultant
A rejected photo can delay your visa application by weeks. Here is exactly what authorities require — and practical tips for getting it right the first time.
Why Your Photo Matters More Than You Think
A document photo that does not meet official requirements is one of the most common — and most avoidable — reasons for visa application delays. Immigration authorities apply strict technical standards, and a photo that looks perfectly fine to you may be rejected for reasons you would never anticipate: a shadow on the background, glasses glare, or a head that is slightly too large in the frame. Getting it right the first time saves you time, money, and stress.
Use a Recent Photo
Your photo must have been taken within the last six months. Using an older photo — even one where you look similar — is grounds for rejection. If your appearance has changed significantly (new hairstyle, beard, weight change), you should take a new photo regardless of when the previous one was taken. Authorities need to be able to match the photo to your current appearance.
Size Requirements by Region
Photo size requirements vary by country and document type. For most European documents — including Schengen visa applications — the standard size is 35x45mm. For North American applications, including Canadian visas, the standard is 2x2 inches (51x51mm). Always check the specific requirements for the country and permit type you are applying for, as even small deviations can result in rejection.
Background: Plain White or Light Grey Only
The background must be plain, uniform, and light — either white or very light grey. No patterns, textures, or gradients. No furniture, walls with paint marks, or outdoor scenery visible behind you. Shadows on the background are not acceptable. The background must be completely even in tone, with no variation from one side to the other.
Face Position and Expression
Your face must be centered in the frame, looking directly at the camera — not slightly to the side, not tilted up or down. Your expression should be neutral: mouth closed, relaxed facial muscles. Do not smile, frown, or raise your eyebrows. Both eyes must be fully open and clearly visible. Your full face must be visible from the top of your head to your chin, with a small margin of space above the head.
Glasses, Head Coverings, and Other Considerations
Glasses are not permitted in most official document photos, as they can cause glare and obscure the eyes. Head coverings are not permitted except for religious reasons — and even then, the full face from forehead to chin must remain clearly visible. Hair should not cover the eyes or any significant part of the face. If you normally wear a hearing aid or other medical device, check the specific guidance for your application.
Lighting: Even and Natural
Good lighting is the single most important technical factor in a document photo. The light should be even across your entire face, with no harsh shadows under the nose, chin, or on one side of the face. Avoid direct flash, which creates flat, washed-out images and often causes red-eye. Natural daylight from a window — with you facing the light source — produces excellent results without any equipment.
Technical Quality: Sharp, High Resolution
The photo must be sharp and in focus, with no motion blur. It must be high resolution — at least 600 DPI for printed photos, or at least 600x750 pixels for digital submissions. The image must be in colour (not black and white or sepia). Do not apply any filters, adjustments, or retouching. The photo must accurately represent your natural appearance.
Framing: Head and Shoulders Only
The photo should show your head and the top of your shoulders only. Your head should occupy approximately 70 to 80% of the frame height. Do not include your hands, other people, or any objects. Clothing should be appropriate and contrast with the background — avoid wearing white or very light colours against a white background.
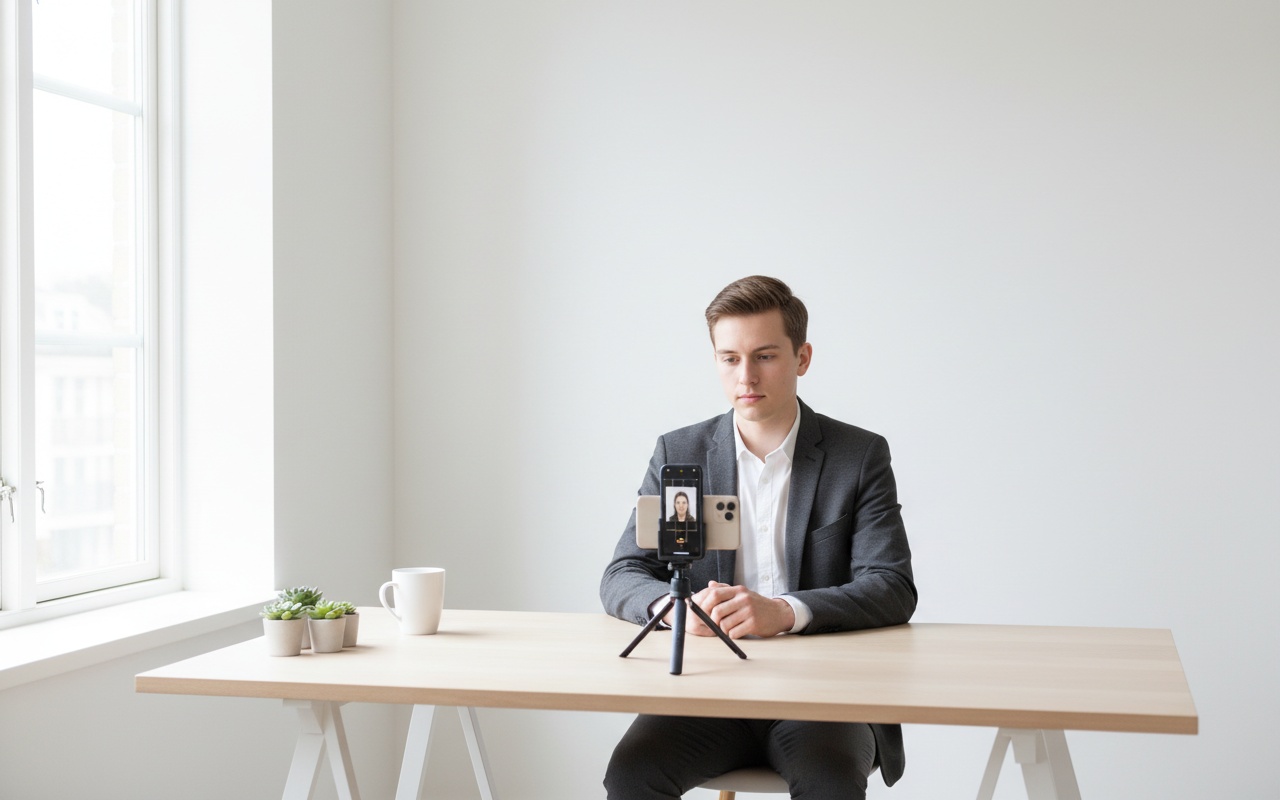
Practical Tips for Taking Your Own Photo
You do not need a professional studio to take a compliant document photo. Stand approximately one metre from a plain white wall in a room with good natural light. Ask someone to take the photo at eye level using a smartphone — do not hold the phone yourself, as this creates distortion. Use the rear camera, not the front-facing camera, for better image quality. Take several shots and choose the sharpest one. Many countries now accept digital photos submitted online — check whether your application allows this before printing.
When in Doubt, Use a Professional Studio
If you are unsure whether your photo meets the requirements, visit a professional photo studio or a pharmacy that offers passport photo services. These services are inexpensive and the staff are trained to produce compliant photos. The cost of a professional photo is far less than the cost of a delayed or rejected application. Need help with your application? Contact us at info@nordicgreens-employment.com
Ready to Take the Next Step?
Our team is available to answer your questions and guide you through the process of working abroad.
Contact Our Team